How to Use the DIY Name Badge Kit
Need name badges in a hurry? Want full creative control without compromising sustainability? Terra Tag’s DIY kit makes it easy to create custom name badges from home or the office. You’ll be able to design, print & assemble beautiful, printable name tags that are fully compostable, zero waste & stress-free. No graphic designer required.
What You'll Need:
Your Terra Tag DIY Name Tag Kit
Computer with PowerPoint, Word, or Canva access
Backloading inkjet printer
Hole punch (included)
Corner cutter (included)
Bonus: This is ideal for events with tight timelines or teams who want hands-on control. The results are clean, professional, and ready for your next sustainable gathering.
Create Name Badges
In 3 Simple Steps
Step 1: Design Your Name Badges
Templates We Provide (see our Name Tag Tools):
PowerPoint: Download the PowerPoint Template here
Canva:
Prefer Microsoft Word? Follow our easy step-by-step guide: How to Create a Name Badge Template in Word
Customisation Tips:
Add names, titles, logos, or QR codes
Match brand colours or event themes
Use the back of badge for sponsor logos or eco messages
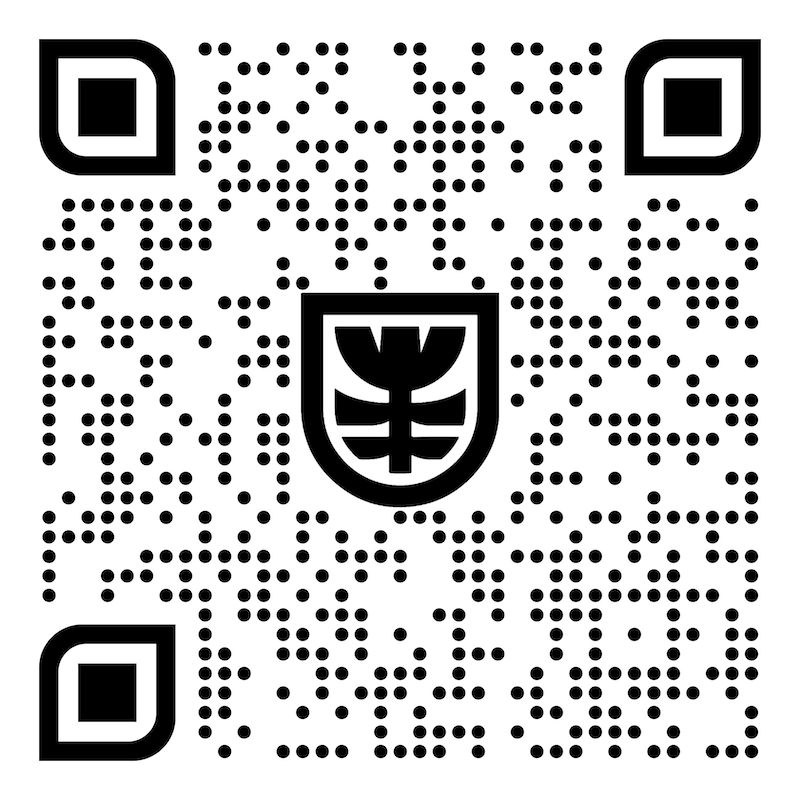
Add QR Code on back for recycling & planting instructions. Right-click the QR code image on this page, save it to your desktop, then insert. Don’t forget to add text under the QR code to let guests know what to do:
I'm plantable! Scan to grow (seed paper)
Recycle me! Scan for how (recycled paper)
Printing information
Each A4 sheet will produce:
8 x A7 event badges
4 x A6 event badges
If your printer can't print borderless, leave a small margin or consider our professionally Seed Paper or Recycled Paper event badges —we'll print edge-to-edge for you!
Step 2: Print Your Event Badges
Each A4 sheet yields:
8 x A7 badges
4 x A6 badges
Follow these printing tips:
Test first on plain paper to check alignment
Set to “Best Quality” and “Cardstock” or “Thick Paper”
Backload your printer carefully
Print the front first, then flip for the back
Step 3: Assemble Your Badges
Assembly Steps:
Cut badges along guide lines
Use the corner cutter for smooth, pro edges
For consistent holes: use one badge as a hole punch template
Thread onto your biodegradable lanyards (included)
And you’re done! These editable name tags look beautiful, feel good in hand, and reflect your commitment to sustainability.
DIY Name Tag Kit Video Instructions
QR Code for back of name badge
Planting & Recyling Instructions QR Code
Explore our expert guides for standout name badges:
Designing Conference Name Tags & Lanyards: Ultimate Guide
The Ultimate Cheat Sheet for Event Badges & Tags: From Design to Distribution
Event Name Tags Ideas: A Creative Guide to Making Memorable Event Badges
How to Design Event Name Badges in PowerPoint
How to Design Event Name Badges That Don’t Suck
The name badge design bible: How to Nail Conference Name Badge Design (Without Tanking Your Cred)
FAQ & Helpful Tips
-
It depends on your badge size!
A7 size: 8 badges per A4 sheet
A6 size: 4 badges per A4 sheet
Just figure out how many sheets you need when ordering & add a few extra for any oopsies!
-
They’ll genuinely look professional—promise! We've provided easy-to-use templates, clear instructions & artwork guidelines specifically to ensure your badges look polished & event-ready. No one will guess they're DIY.
-
Mistakes happen. It’s totally okay. We strongly recommend doing a test print on normal paper first, to ensure alignment & quality. Once you're happy, print confidently on your badge paper. Follow our Artwork Guidelinesto ensure great results.
-
To avoid uneven holes, create a simple hole template using one badge first. Align your template carefully over each new badge before punching. This guarantees professional, consistent results every single time.
-
Yes & no. The badge paper & biodegradable cotton lanyards are fully compostable—worms love them! You can even repurpose lanyards creatively (they make charming gift bows). The metal hole punch & corner cutter aren’t compostable or recyclable, but they're reusable for future projects.
-
Absolutely! We’re here to support you. Just contact us directly or explore our blog for additional tips, templates & reassurance.


